EN
EN

What is the role of laser technology in anti-counterfeiting foil development?
2026/09/11
See how UV and femtosecond lasers write covert codes into anti-counterfeiting foils, plus CO2 demetallization limits and real-time process control.
2026/08/28

2026/08/28
A fault pattern is evidence, not just a quality complaint
Hot stamping foil defects are easiest to solve when the team stops treating every failure as a temperature problem. Patchy transfer, flaking, filled-in text, pinholes and weak edges may look related, but each points to a different part of the transfer system. The visible symptom is the last link in a chain that includes the substrate surface, foil grade, die condition, heat, pressure, contact time and press stability.
A disciplined diagnosis therefore begins with evidence. Record where the defect appears, whether it is repeatable, whether it changes across the sheet, and whether it affects fine detail, solid areas or both. Then change one variable at a time. This approach is slower than turning several controls at once for the first test, but it reaches a stable production window faster and leaves a recipe that can be repeated on the next batch.
The most common hot stamping foil defects begin with incomplete transfer: missing islands, broken edges or areas that remain on the carrier film. If the failure repeats in the same position, inspect die contact, make-ready and pressure distribution before changing the foil. If the failure moves randomly, check dust, spray powder, coating variation, foil tension and substrate cleanliness. A left-to-right difference is often a pressure-leveling problem rather than a chemistry problem.
Flaking or weak adhesion is different. The image may look complete immediately after stamping but fail during a tape, rub or fold test. That points toward poor bonding between the foil adhesive layer and the receiving surface, an incompletely cured coating, low surface energy, insufficient activation or a foil grade that is not matched to the coating. The delay between stamping and failure is useful evidence because it separates release quality from final adhesion.
Filled-in letters, bridging between fine lines and a halo around the image indicate too much transfer outside the intended graphic. Excess heat, excessive pressure, long dwell time, soft make-ready or an easy-release foil on delicate artwork can all contribute. Pinholes in a large solid area point in the opposite direction: contact is not uniform enough across the entire image, or the substrate and adhesive system cannot wet the surface evenly.
Before adjusting the press, identify what is actually being stamped. Coated paper, aqueous varnish, UV coating, soft-touch film and laminated board can look equally smooth but present very different surface chemistry. Wax, silicone, residual solvent, release additives, moisture and anti-set-off powder can interrupt adhesion. A foil that performs on clay-coated board may not bond to a low-energy laminate even when the color and gloss appear identical.
Run a controlled substrate check. Use clean sheets from the same production batch, confirm that ink and coating are fully cured, and compare an unprinted margin with the printed or varnished area. If the foil bonds to the margin but fails over the coating, the press is capable of transfer and the surface construction is the first suspect. The next test should be a compatible foil grade, primer or surface-treatment route, not an uncontrolled increase in temperature.
The artwork also changes the required release behavior. Fine text and narrow lines need a foil that releases cleanly without flooding. Broad solids need stable contact and coverage across a larger area. A single mixed design can therefore expose a compromise: settings that fill the solid may close the fine text, while settings that sharpen the text may leave the solid patchy. Separate test blocks for fine detail and solid coverage make this trade-off visible before a full production run.
Heat activates the foil adhesive and influences release from the carrier. Pressure creates intimate contact between the die, foil and substrate. Dwell time determines how long that contact is maintained. Machine speed changes the effective dwell time, so speed cannot be treated as an independent production target. The correct working point is the lowest combination that produces clean transfer and durable adhesion without damaging the substrate or closing the artwork.
Verify the actual die-face condition rather than relying only on the machine display. Uneven heating, a contaminated die, worn edges or poor mounting can create defects that resemble an incorrect foil grade. Establish a baseline with the supplier's recommended range, then move in small steps. Hold two variables constant while changing the third, keep each test strip, and write the setting directly on the sample.
For an incomplete image with sharp surviving edges, test pressure distribution and dwell before adding more heat. For weak adhesion with otherwise clean definition, evaluate activation and foil-to-surface compatibility. For filled-in detail or a blurred halo, reduce heat or pressure and check whether the dwell time is longer than necessary. These are starting hypotheses, not universal fixes; the final decision must come from the controlled sample series.
| Observed defect | Most useful first check | Controlled next test |
|---|---|---|
| Patchy or incomplete transfer | Pressure map, die contact, dust and coating uniformity | Level make-ready; then test dwell or a matched release grade |
| Foil flakes after tape or rub test | Coating cure, surface energy and adhesive compatibility | Compare a stronger-adhesion grade on the same clean substrate |
| Fine text fills in | Excess heat, pressure, dwell or soft make-ready | Reduce one setting at a time and inspect the die edge |
| Large solid contains pinholes | Surface texture, contamination and uneven contact | Improve pressure uniformity and test a solid-area grade |
| One side transfers better | Die and platen parallelism | Correct leveling before changing temperature |
| Defect appears after folding | Final bond and coating flexibility | Run fold/crease tests after full cure |
A bright, complete image is not automatically a production pass. For hot stamping foil defects that appear after conversion, test the property that matters in use: tape adhesion, dry rub, damp rub, folding, creasing, overprinting, lamination or abrasion during packing. Recheck after the coating and foil have returned to room temperature. A transfer that survives the press but fails during folding or varnishing is still the wrong construction for the job.
Keep an approved control sheet together with the foil code, substrate batch, coating description, die, machine, temperature, pressure, speed and test result. This record turns troubleshooting into process knowledge. When the same job returns, the team can verify the critical inputs instead of rebuilding the process from memory.
GL Foils selects hot stamping foil by substrate, surface treatment, artwork coverage and end-use requirements rather than by color alone. Supplying a substrate sample, a photo of the defect and the current press conditions gives the technical team enough information to recommend a focused test route and reduce unnecessary trial changes.
The fastest troubleshooting method is not the largest parameter change. It is the smallest test that separates one possible cause from another. Once hot stamping foil defects, substrate construction and artwork demand are documented, foil selection becomes a controlled engineering decision instead of a sequence of guesses.
For product specifications and application options, review Random-Pattern Security Holographic Hot Stamping Foils and Hot Stamping Foils for Appliance Logos & Fine Graphics.
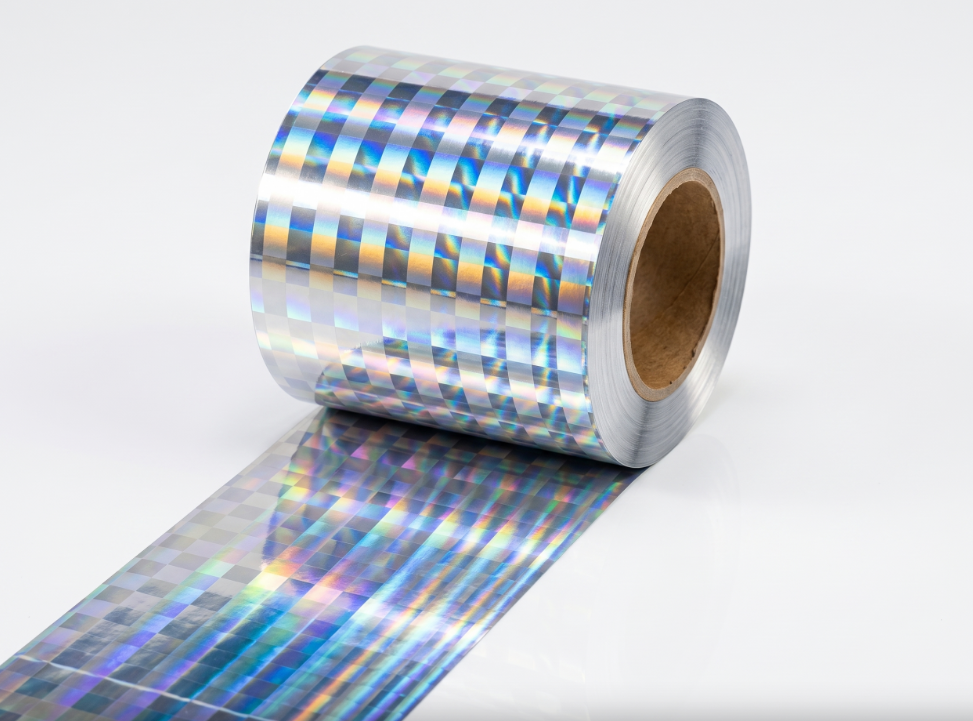
2026/09/11
See how UV and femtosecond lasers write covert codes into anti-counterfeiting foils, plus CO2 demetallization limits and real-time process control.
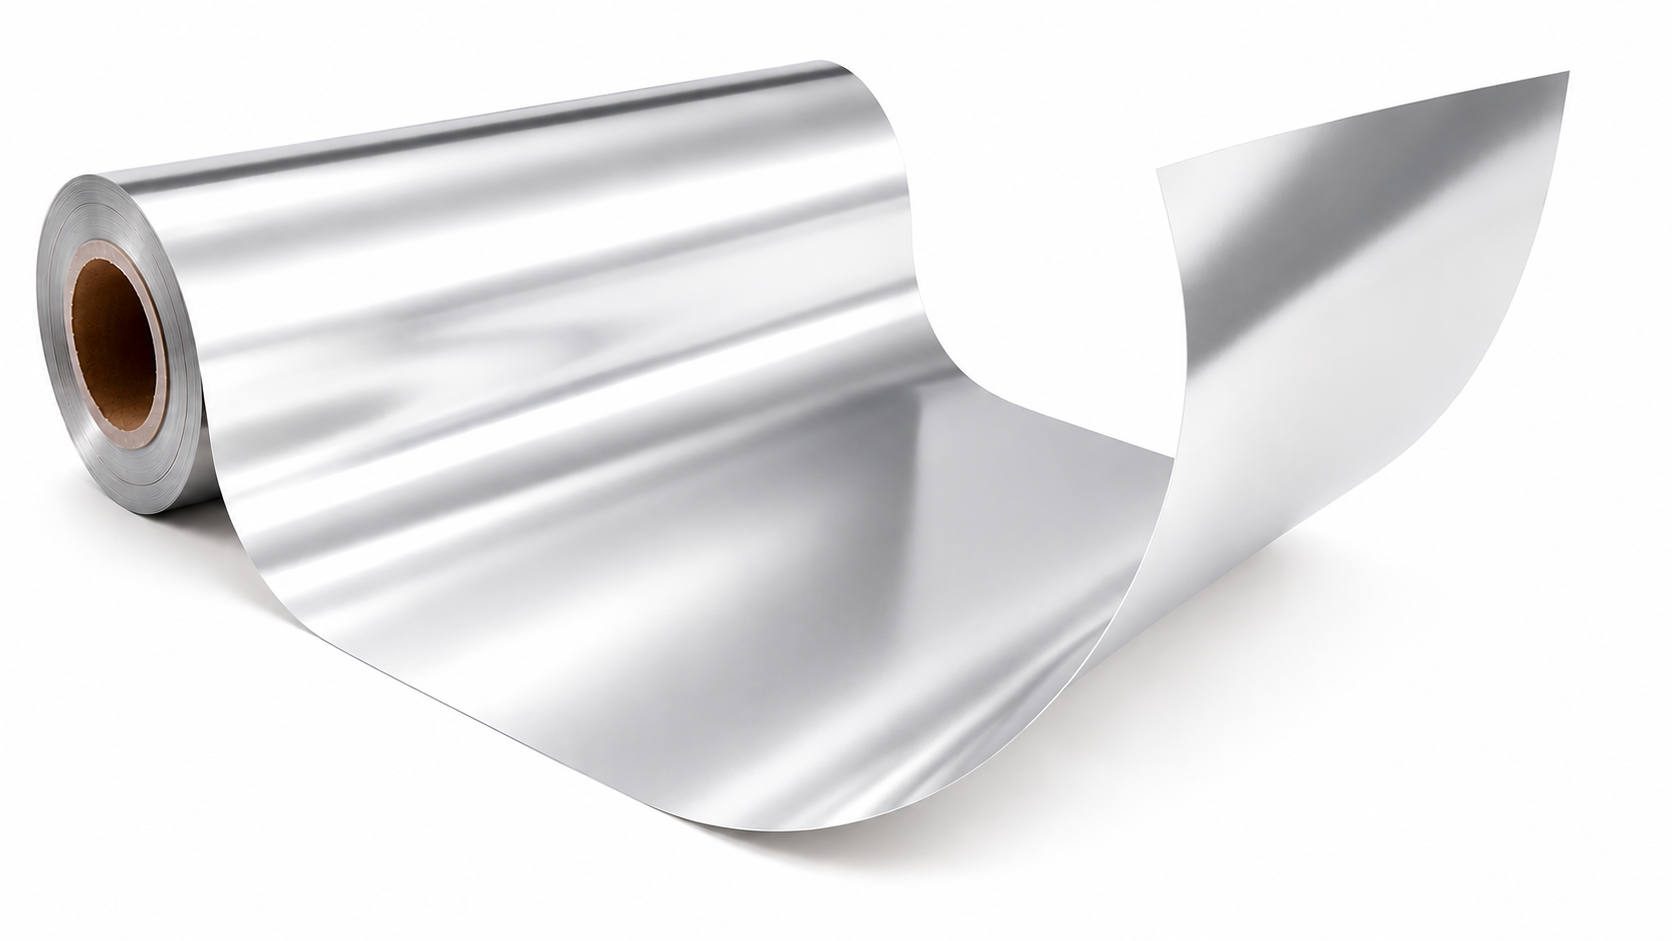
2026/09/11
Hologram foil uses electron beam lithography, kinematic holography, dot matrix diffraction, and nanofabrication for secure high-definition packaging.

2026/09/11
See how light shifts color and motion, adding secure visual effects that resist copying on printed cartons and retail labels for brands worldwide today.
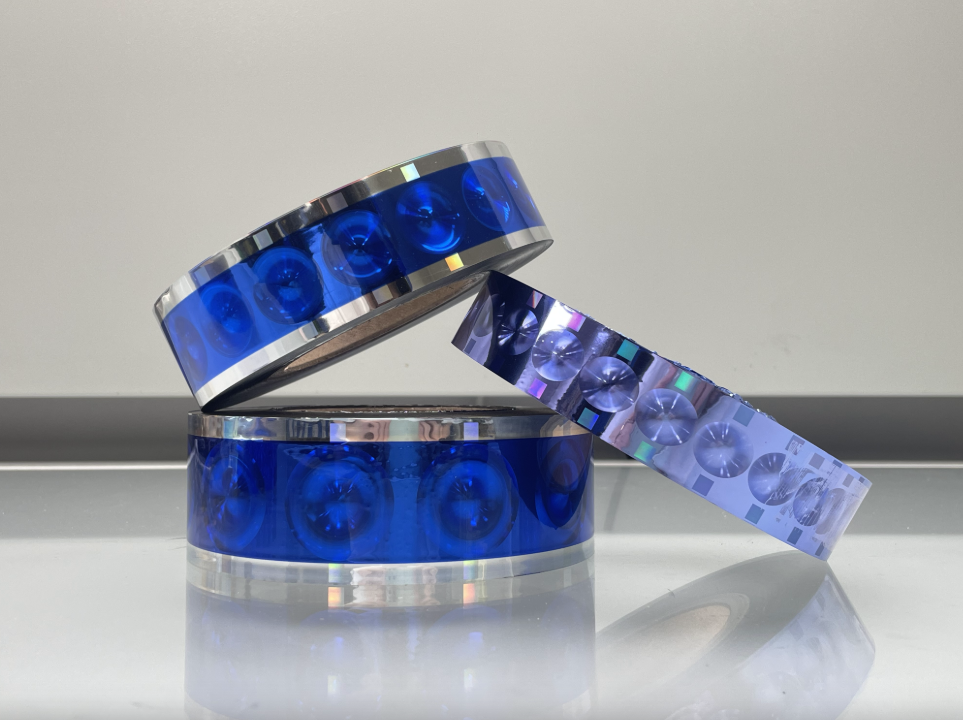
2026/09/11
Security holograms and holographic labels add overt protection. Learn optics, foil, design, pitfalls, limits, and fake risks in real world use.
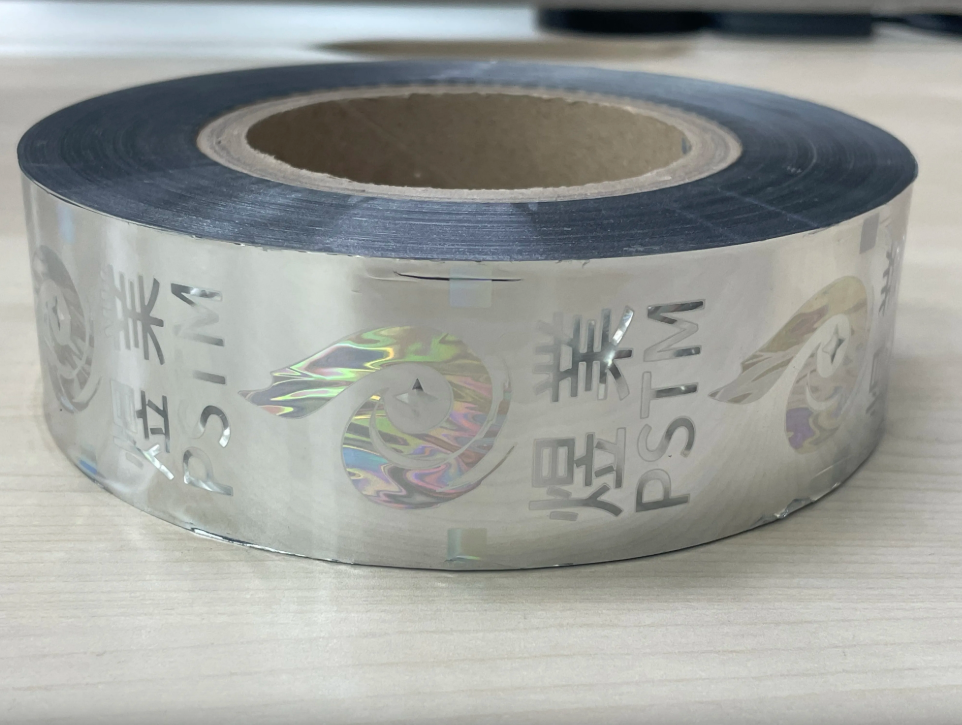
2026/09/11
Learn how metal decoration works without heated dies, plus substrate limits and inline setup costs, quality control and output plans for packaging lines.
2026/09/11
Hot stamping foil uses heated dies; metallic ink prints via a printing process. Compare brilliance, adhesion, rub resistance, cost, substrate for decoration